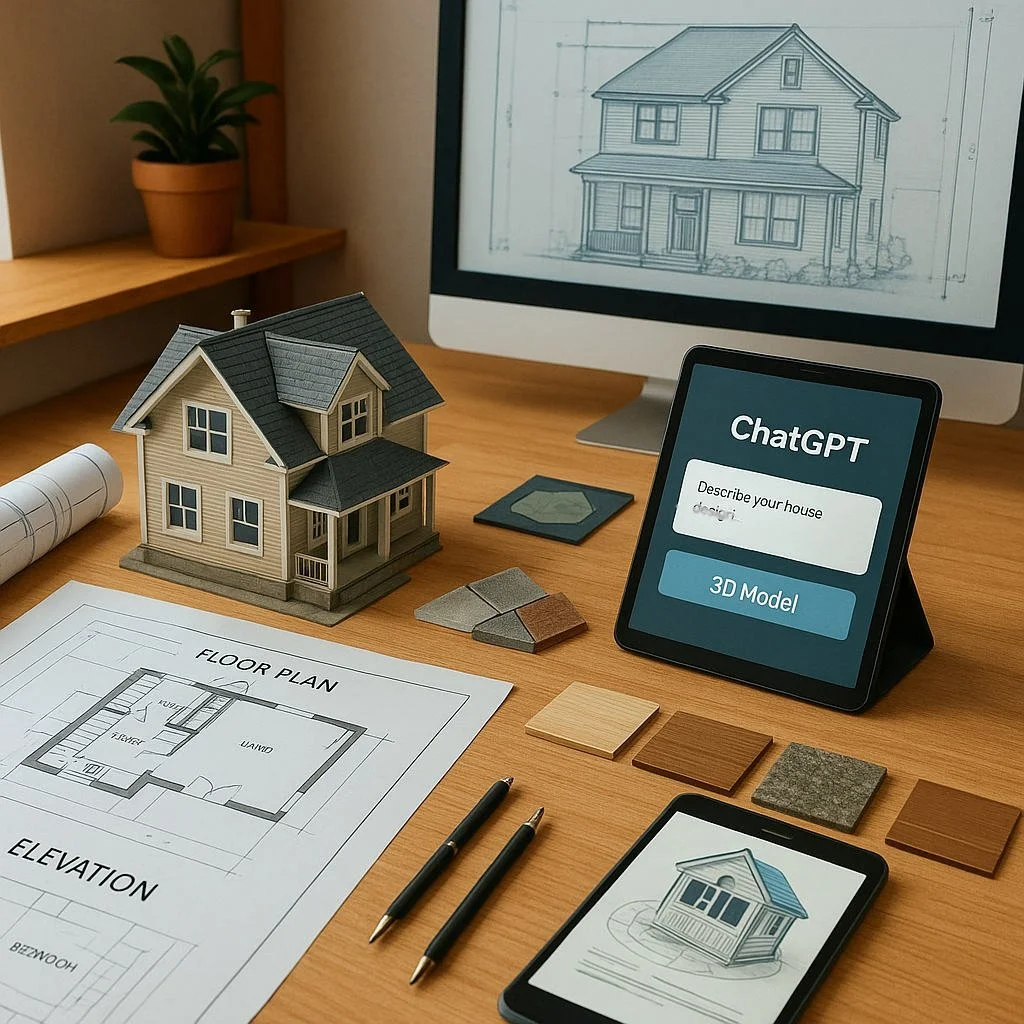
How to Use ChatGPT to Design a House
Treat ChatGPT as your project manager + concept designer:
Program the house (rooms, sizes, adjacencies, lifestyle).
Study the site (sun, wind, views, setbacks, services).
Mass the building (footprint, stories, roofs).
Plan rooms and circulation to realistic dimensions.
Engineer the envelope, daylight, ventilation, and systems.
Specify materials and assemblies that fit budget and climate.
Document a package for pricing and permitting.
Every step below includes prompts you can paste.
Step 1 — Write a sharp design brief
Prompt: House Brief Builder
“Create a design brief for a [single-family/duplex/cottage/retreat] home. Site: [address/region, climate, urban/suburban/rural]. Household: [# adults, # kids, pets, mobility needs]. Lifestyle: [work from home, entertaining, cooking, music, hobbies]. Bedrooms/baths: [#/#]. Special spaces: [studio/gym/guest suite/rental suite/garage]. Target size: [m² or ft²]. Budget: [$ and contingency %]. Style cues: [modern/warm minimal/cabin/Scandi/japanese/industrial]. Sustainability: [energy target, materials preferences]. Constraints: [setbacks, slope, trees, HOA]. Deliverables: program, adjacency matrix, bubble diagram, massing options, room-by-room dimensions, envelope + systems concept, cost ranges, and a pre-permit checklist.”
Ask for unknowns at the end so you can fill gaps early (e.g., soil bearing, utilities, flood zone).
Step 2 — Program the house (what, how big, what belongs together)
Useful room size ranges (quick reality check)
Entry/mudroom: 5–9 m² / 55–95 ft²
Living room: 18–28 m² / 200–300 ft² (family home)
Kitchen: 10–18 m² / 110–195 ft² (plus pantry 2–4 m²)
Dining: 9–14 m² / 100–150 ft²
Bedrooms: kid 9–12 m² / 100–130 ft²; primary 14–20 m² / 150–215 ft²
Home office: 7–12 m² / 75–130 ft²
Bath: powder 1.5–2.5 m²; full 4.5–6.5 m²
Laundry: 3–5 m²
Circulation target: ≤12–15% of total
Prompt: Adjacency Matrix
“Build an adjacency matrix for my program [paste rooms]. Score each pair 0–3 (no adjacency → must-adjacent). Flag privacy conflicts (e.g., guest suite near kids’ rooms), noise conflicts, and daylight needs.”
Prompt: Bubble Diagram
“Translate the adjacency matrix into a bubble diagram description for a [single/two/three]-storey layout. Indicate public vs private zones, service core (stairs/plumbing), and outdoor connections (deck, patio, garden).”
Step 3 — Site analysis (sun, wind, views, approach)
What to study
Orientation: morning/evening light, overheating risk.
Wind & weather: prevailing winds; winter vs summer paths.
Topography & drainage: slope, retaining needs, water flow.
Access: driveway, front door, deliveries, trash.
Utilities: water, sewer/septic, power, gas/heat pump placement.
Setbacks & height limits: buildable envelope.
View cones & privacy: place windows and outdoor rooms accordingly.
Trees & solar access: shade benefits and solar constraints.
Prompt: Site Strategy
“Given a [climate zone/region] site with [orientation, slope, setbacks], propose: (1) building placement, (2) main glazing directions, (3) outdoor rooms by time-of-day use, (4) car and service approach, (5) rough stormwater strategy, (6) solar/PV potential.”
Step 4 — Massing: footprint, height, roof, and volume
Tradeoffs
One storey: simpler stairs and aging-in-place; larger footprint → more site work.
Two storey: compact footprint; easier to separate public/private; stairs cost space.
Roof: simple gable/shed = cheaper, better for snow/rain; complex hips/valleys = more flashing risk.
Prompt: Massing Options
“Propose 3 massing options that respect [setbacks/height/slope]: (A) compact two storey with gable roof, (B) L-shaped single storey with sheltered courtyard, (C) split-level following slope. For each: pros/cons (cost, energy, privacy), approximate wall-to-window ratio, and roof strategy.”
Step 5 — Plan circulation and realistic room dimensions
Minimums and comfort clearances
Corridors: target 1.0–1.2 m / 40–48 in clear (min local code may be less).
Doors: 810–915 mm / 32–36 in clear openings; accessible swing/zero threshold at key entries.
Stairs: consistent riser/tread; headroom meets code.
Kitchen work aisle: 1.0–1.2 m (two-cook: 1.2–1.4 m).
Dining: 60 cm / 24 in per person at table; 90 cm / 36 in behind chairs.
Bathrooms: clearances for toilets, showers, and turning (confirm local code).
Bedrooms: beds plus 760–900 mm / 30–36 in walkways.
Prompt: Dimensioned Room List
“Generate target internal dimensions and furniture footprints for each room [paste list] based on my household and accessibility needs. Include corridor widths, door sizes, and stair parameters. Flag any undersized spaces.”
Prompt: Circulation Audit
“Audit the plan narrative for travel distances, dead-end corridors, door conflicts, and sightlines. Suggest relocations to improve privacy and natural light.”
Step 6 — Envelope & passive design (comfort and energy first)
Core moves
Glazing orientation: bigger, shaded openings to good sun; fewer on hot/west or noisy sides.
Shading: overhangs, screens, deciduous trees, exterior shades.
Insulation & air-tightness: continuous exterior insulation if possible; minimize thermal bridges.
Ventilation: cross-vent where climate allows; otherwise balanced mechanical ventilation with heat/energy recovery.
Thermal zoning: place low-use rooms to buffer extremes; stack wet rooms for shared services.
Prompt: Passive Strategy
“For [climate: cold/hot/mixed/humid], propose: (1) window-to-wall ratios by orientation, (2) overhang depths/fin patterns, (3) insulation levels by assembly, (4) airtightness target, (5) ventilation type and locations, (6) thermal zoning diagram.”
Step 7 — Structure basics (so spans and costs make sense)
Common options
Light wood framing (fast, economical).
Engineered wood (LVL, I-joists) for longer spans.
Steel (selective beams for open plans).
Masonry/ICF (mass, durability, energy).
Slab-on-grade vs crawlspace vs basement (drainage/soil dictates).
Prompt: Structural Concept
“Recommend a structural scheme for [massing option] with typical spans, beam locations, column counts, and a stair framing approach. Provide a coordination checklist for the structural engineer.”
Step 8 — Systems (MEP): heating/cooling, hot water, electrical, plumbing
Heating & cooling
Cold/mixed climates: heat pumps (ducted or ductless), radiant floors with heat pump water heaters, or hybrid approaches.
Hot/humid: high-SEER heat pumps, dedicated dehumidification.
Ventilation: HRV/ERV with supplies to bedrooms/living, returns in halls; boost in baths/kitchen.
Water & plumbing
Hot water: heat pump water heater or on-demand gas/electric; minimize pipe runs; insulate hot lines.
Wet walls stacked to simplify.
Low-flow fixtures sized for comfort.
Electrical
Panel sizing with capacity for EV/PV/induction; dedicated circuits for large loads.
Lighting layers: ambient/task/accent; warm where you relax, neutral where you work.
Prompt: MEP Schematic
“Draft a MEP schematic: HVAC type and zoning, HRV/ERV locations and duct routes, hot water strategy, stacked wet walls, electrical panel size with dedicated circuits list, lighting zones and control strategy.”
Step 9 — Kitchens, baths, and storage (the daily-life engine)
Kitchen
Work triangle or work zones (prep, cook, clean).
600 mm / 24 in landing spaces beside sink and cooktop; trash/recycling within the prep zone.
Pantry depth 400–600 mm; drawer bases for ergonomics.
Baths
Shower 900×1200 mm comfy; curb-less where possible.
Toilet 760 mm center with 380 mm each side clear (check local).
Ventilation: quiet, timed, ducted outside.
Storage
Entry drop zone, linen closets, scalable bedroom wardrobes, garage/bike/workshop zones.
Prompt: Kitchen/Bath Pack
“Design a kitchen layout (L/galley/U/island) for [size] with appliance sizes, aisle widths, landing zones, and storage plan. Then design a primary bath with curb-less shower, double vanity, toilet alcove, and linen storage. Provide fixture lists and tile/waterproofing notes.”
Step 10 — Materials & assemblies (beauty + durability + budget)
Exterior
Siding (fiber cement/wood/brick/metal), rainscreen gap, robust flashing, durable roofing (metal/architectural shingles).
Windows/doors: performance by orientation; ventilation hardware; bug screens.
Interior
Durable floors (engineered wood, tile, vinyl plank where wet), washable paints, moisture-smart baths.
Prompt: Material Palette + Assemblies
“Propose an exterior material palette with assemblies: cladding + rainscreen, WRB, insulation layers, window install type, roof build-up. Provide an interior finishes list by room with durability notes and maintenance plan.”
Step 11 — Cost planning (ranges, contingencies, value engineering)
Rules of thumb
Create a cost model by major categories: sitework, foundation, structure, envelope, windows/doors, interiors, MEP, fees, contingency.
Include design & permit fees, testing, surveys, utility connection, landscaping, furniture/AV.
Hold 10–20% contingency (more for complex sites or first-time builders).
Prompt: Cost Model
“Build a level-1 cost model for [size, massing, finishes level]. Break out sitework, foundation, structure, envelope, openings, interiors, MEP, soft costs, contingency. Provide low/medium/high ranges and a value-engineering list that preserves performance.”
Step 12 — Documentation (from concept to builder-ready)
What a pricing/permitting set often includes
Site plan with setbacks, grading intent, and utility points.
Floor plans with dimensions and door/window schedules.
Roof plan, exterior elevations with materials, key sections.
Wall/roof assemblies, flashing concepts, air/water barrier intent.
MEP schematics and fixture schedules.
Energy and structural sheets (by licensed pros).
Code data sheet (occupancy, area, egress, fire alarms/smoke detectors).
Specifications (outline level is fine for early pricing).
Prompt: Drawing List + Responsibilities
“Create a drawing index for pricing/permitting and a responsibility matrix: architect vs structural vs MEP vs energy consultant vs surveyor vs geotech vs builder. Add a submittals checklist (shop drawings, product data).”
Step 13 — Procurement & builder selection
Approaches
Design–bid–build: complete docs then solicit fixed bids.
Design–build/CM: bring builder earlier for pricing feedback.
Negotiated GMP: cost transparency with a guaranteed cap.
Prompt: RFP to Builders
“Draft a builder RFP with project overview, drawings/specs list, schedule, inclusions/exclusions, alternates, unit prices (rock excavation, extra insulation), allowances (appliances, tile), and required references. Include a comparison matrix for bids.”
Step 14 — Permitting & inspections (plan it, don’t chase it)
Typical items
Site survey, grading & drainage plan, energy compliance paperwork, structural calcs, truss/joist shop drawings, septic design (if applicable), special inspections, final as-built.
Prompt: Permit Path
“Create a permitting checklist for [jurisdiction] with required documents, review departments, estimated lead times, and inspection milestones from footing to final.”
Step 15 — Construction administration (keep control)
Kickoff meeting: roles, RFIs, submittals, meeting cadence.
Weekly site walks with photo logs and action lists.
Change management: price, schedule impact, approval chain.
Quality holds: pre-cover inspections (framing, MEP rough-in), blower-door test, waterproofing checks.
Prompt: Site Meeting Agenda
“Create a weekly site meeting agenda and action log template: safety, schedule, RFIs, submittals, inspections, long-lead items, changes, decisions needed, and photos to capture.”
Special constraints & strategies
Small lots / tight urban sites
Stack vertical, light wells, clerestories, roof decks, party-wall details, fire rating, shared services coordination.
Aging-in-place / accessibility
Zero-step entry, 36-in doors, turning radii, blocking for future grab bars, curb-less showers, lever handles, lighting contrast, bedroom + full bath on the main floor.
Cold climates
Entry air-locks/mudrooms, continuous exterior insulation, triple-pane windows on windward sides, heat-recovery ventilation.
Hot/humid
Deep overhangs, shaded porches, vapor-open assemblies that dry outward, high-SEER cooling + dedicated dehumidification.
Wildfire or severe weather
Non-combustible cladding/roof, ember-resistant vents, defensible space, impact-rated openings, backup power.
Prompt: Constraint Optimizer
“Apply [accessibility / wildfire / cold climate / urban infill] constraints to the current concept. Adjust massing, assemblies, openings, and systems; list cost/schedule impacts.”
Prompts for rapid iteration
Optioneering
“Compare Option A (two storey compact) vs Option B (single storey courtyard) on cost, energy, privacy, accessibility, and build time. Recommend one with a hybrid sketch description.”
Daylight Audit
“Walk each room at 9am/12pm/6pm summer and winter; describe glare risks, dark corners, and fixes (overhangs, light shelves, skylights, interior glass).”
Acoustic Strategy
“Plan sound separation: bedrooms from living, office from kids’ zone, laundry isolation. Recommend assemblies (mass, decoupling, damping) and door types.”
Value Engineering
“Reduce cost by 10% while preserving performance: simplify roof geometry, standardize window sizes, swap finishes, shift structure. Show savings line by line.”
Pre-Permit Review
“Create a code data sheet draft: occupancy, construction type, building area/height, egress, smoke/CO detector locations, stair/guard parameters, energy compliance path.”
Checklists (print these)
Pre-design
Survey/topo & utilities confirmed
Climate & orientation mapped
Program finalized with adjacency matrix
Budget & contingency set
Schematic design
Massing option selected
Circulation efficient; stairs compliant
Daylight & passive strategy defined
Structural concept vetted
Design development
Envelope assemblies chosen
Window schedule + shading strategy
MEP scheme and zoning
Kitchen/bath layouts frozen
Cost model updated
Construction docs
Site, floor, roof, elevations, sections
Wall/roof details, flashing intent
Schedules: doors/windows/finishes/fixtures
Specs outline complete
Permit set coordinated (structural, energy, MEP)
Build phase
Submittals tracked
Pre-cover inspections done
Change orders documented
Punch list and closeout packet
One-week sprint (from zero to solid concept)
Day 1: Brief Builder → fill unknowns → budget ranges.
Day 2: Adjacency matrix → bubble diagram → pick a layout logic.
Day 3: Site Strategy → choose massing option(s).
Day 4: Dimensioned Room List → Circulation Audit.
Day 5: Passive Strategy → Structural Concept → MEP Schematic (first pass).
Day 6: Kitchen/Bath Pack → Material Palette + Assemblies.
Day 7: Cost Model → Drawing List + Responsibilities → RFP to Builders (draft).
Troubleshooting (common pain points)
Plan feels cramped
Reduce room count or consolidate functions; widen halls to 1.1–1.2 m; borrow light with interior glazing.
Overheating or glare
Add exterior shading; reduce west glass; specify low-SHGC glass on hot sides; use light shelves.
Costs ballooning
Simplify massing and roof; standardize openings; select local, readily available materials; phase finish upgrades later.
Noise issues
Separate noisy rooms; stagger studs or use resilient channels at key walls; solid-core doors on bedrooms/office.
Scope confusion with builder
Use allowances and alternates; maintain a decisions log; document every change with cost/time impact.
TL;DR (finally)
Start with a tight brief, adjacency matrix, and site-driven massing.
Plan circulation and room sizes to realistic clearances; stack wet rooms; daylight where it matters.
Get the envelope, shading, and ventilation right—comfort and bills follow.
Choose a simple structure and MEP scheme that fits climate and budget.
Lock kitchen/bath layouts early; specify durable assemblies and a sane finish palette.
Build a cost model with contingency, document a clear permit/pricing set, and select a builder with a comparative RFP.
ChatGPT keeps the process organized; licensed pros keep it compliant and safe.